Hey there, wedding and event industry peeps!
Want to increase your sales and your brands coolness factor?
One substantial way to do this is by improving your brands online presence with imagery that is professionally done or at least aesthetically pleasing. When your blog and social sites are filled with well done photos, this leaves an impression on clients and other vendors that you are a professional and competent vendor to work with, creating a level of trust-ability before you even speak with them.
Don’t have a Photographer you can you collaborate with (We can help you there! Just email us at Hello @ Friendors.com) or want to learn yourself?
We’ve got the good ol folks from Far Out Galaxy here to share The 3 Basic Rules of Photography with you and some Instagram examples of them executed well.
These 3 rules are all over the internet and in many books – these are just our explanations.
If you enjoy this post, let us know and we will continue the series. Have knowledge you want to share with your fellow professionals? Submit Here.
Follow these basic rules and we promise it will improve your brands online presence.
1. Know your Subject
Do you know what you’re photographing? Would the viewer know what you’re photographing? Ask yourself these simple questions before taking a photo. If you cannot answer them, put your camera down until you decide your subject.
2. Draw Attention to your subject.
This goes hand in hand with actually knowing your subject – it’s about making sure your subject isn’t competing with another subject and that the viewer knows as well.
There are many ways you can do this – composition rules, diagonal lines, simple backgrounds, zooming in, filling your frame with the subject, frames within frames, etc.
Trying to photograph the table number? Zoom in, rather than getting a lot of the table in the photo. Trying to draw attention to the brides shoes? Place her on a circular stepping stone or on a single tile and photograph her frames within frames style.
We have a few examples of these tactics in use below.
Here are 3 examples of Lines working to lead the viewers eyes to the subject.
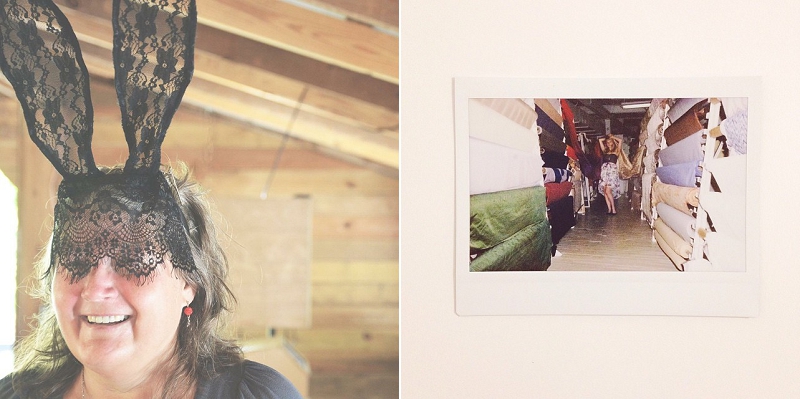
In the left image above, the diagonal lines of the barn ceiling help to frame this shot up and lead the viewers to the subject. On the right, the lines of the fabric aisle draw your eye to the girl in the center.
 Here, you have several lines leading into the subject. There are lines coming from the top left leading in, the single line from the bottom leading in, even the lines of their elongated legs lead into them, as well as the lines of her finger tips. Everything in this photo is there to work to the subjects advantage.
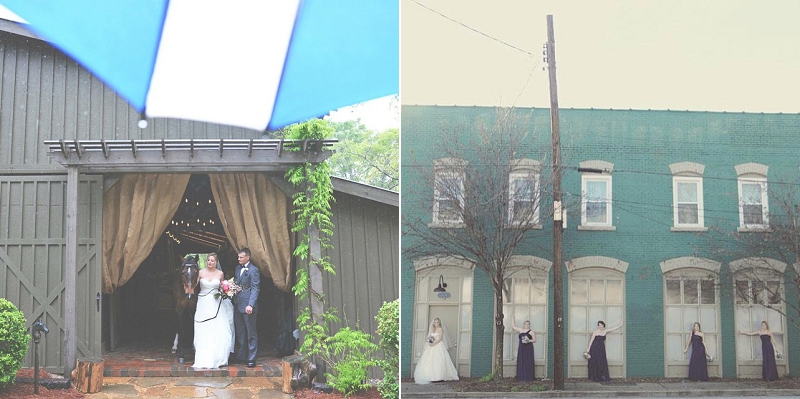
Here are 4 examples of Frames within Frames to show the viewer the subject.
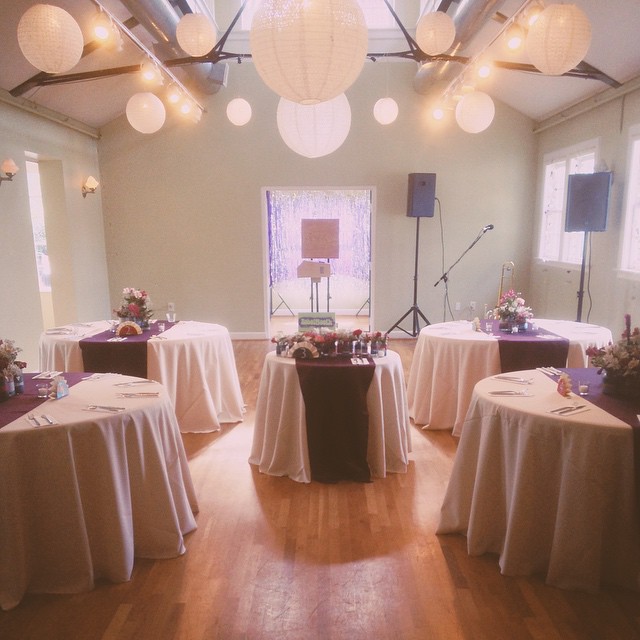

Here are two examples of zooming in to draw attention to the subject.
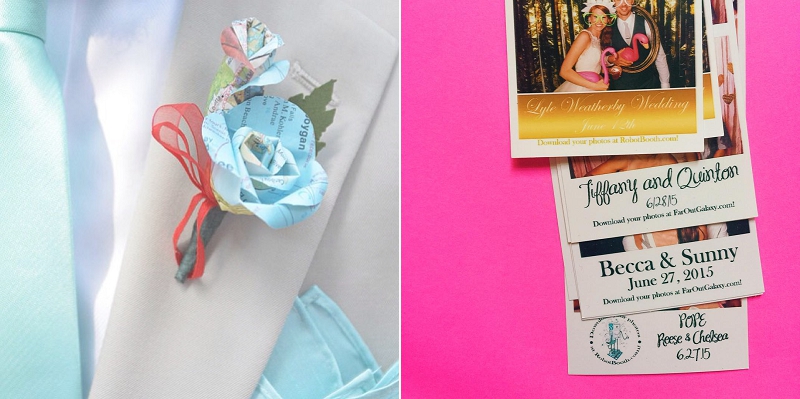
The photo of the boutonniere above could have been taken at a farther distance to include the grooms face, tie, and pocket square – but then your subject could be the groom himself for all your viewer knows, entirely changing the photo.
The idea behind the boutonniere photo is the same for the photo strips – our subject isn’t the photo strips themselves but the graphic designs at the bottom strategically shown.
Zooming in helps identify the subject more precisely to the viewer.
These different attention drawing tactics can transform the subject of your photo in a miraculous way.
3. Simplify
Make it simple. No one likes a photo full of clutter. Simplifying will help your images to look like they are straight out of the pages of a magazine or off a prestigious blog.
There are many ways to do accomplish this. The first two rules of photography, knowing your subject and drawing attention to your subject, almost have you entirely there.
Removing distracting background elements is a simplifying tactic.
The water bottle in the window sill of your shot of the bride? Remove it. The stranger walking in the corner of your ceremony shot to share on Insta? Wait five seconds for them to move or politely ask. These things, and many more, can work against you in a photograph to distract the viewer – we want to make sure this doesn’t happen.
Depending on what you are photographing, if it’s something you could lay down – your photo strips from the event, the bouquet you’re about to hand off to the bride, etc – an easy way to simplify would be to use fabrics, papers, etc, as simple backgrounds, making your subject the only thing in the photo. This will make the ultimate simplified photo.
For people, instead of photographing them in the middle of the venue with tons of other people in the background, miscellaneous items popping out of their heads, and tons of distracting elements, take them to the nice simple wall that’s probably only a few steps away.
Here are a few examples of the two above ideas.
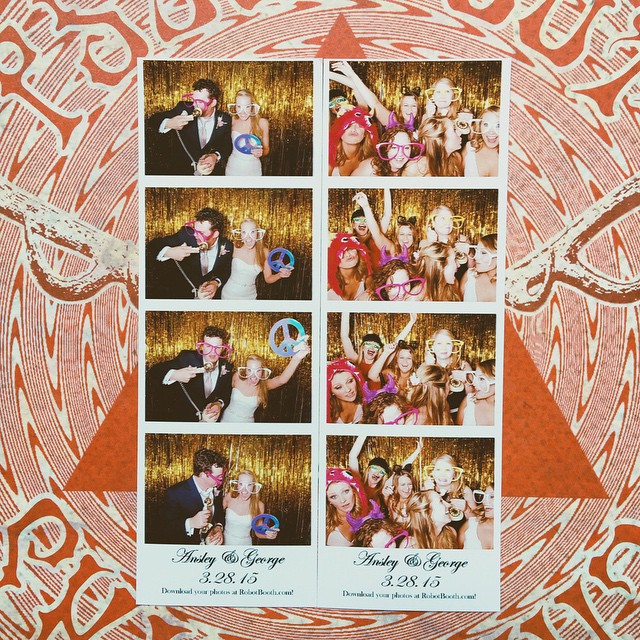
The use of all three rules above makes the subject is precise. We know our subject and drew attention to it with the diagonal lines leading in from the sides, the circular design and triangle framing the strips up, and we simplified by making this printed background we chose fill the frame, making it the only thing in the photo.
Some may say the background we chose is too busy – we may agree, but we like to keep our images a lil weird when we can and this vinyl record case met that criteria. 😉
 Here’s an example of using fabric to make your background simple for your subject.
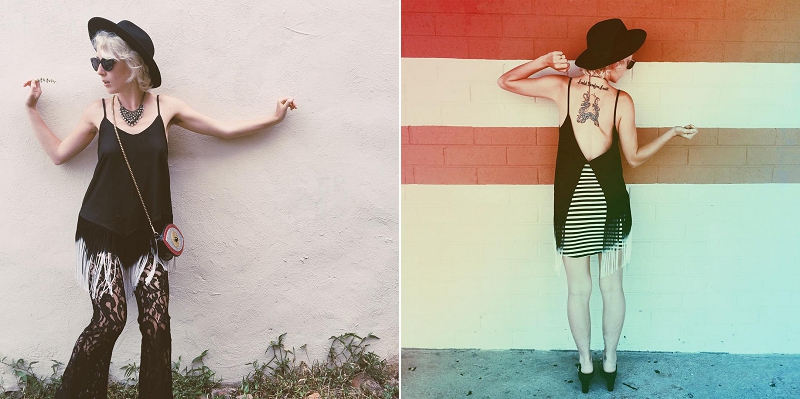
Here are two examples of using a simple wall as a background for portraits instead of just snapping the photo wherever you happen to be standing. This simple simplifying trick will make you like your photo better – guarantee.
Put these tactics to use in real life! Follow these simple rules in your everyday photography ventures and your online trustworthiness and coolness factor will rise exponentially – promise. 😉
If you enjoyed this post, let us know and we will continue the series.
To make sure you don’t miss anything: ‘Like’ us on Facebook and Follow us on Instagram.
Have knowledge you want to share with your fellow professionals? Submit Here.
xoxo,
Friendors Consultancy

